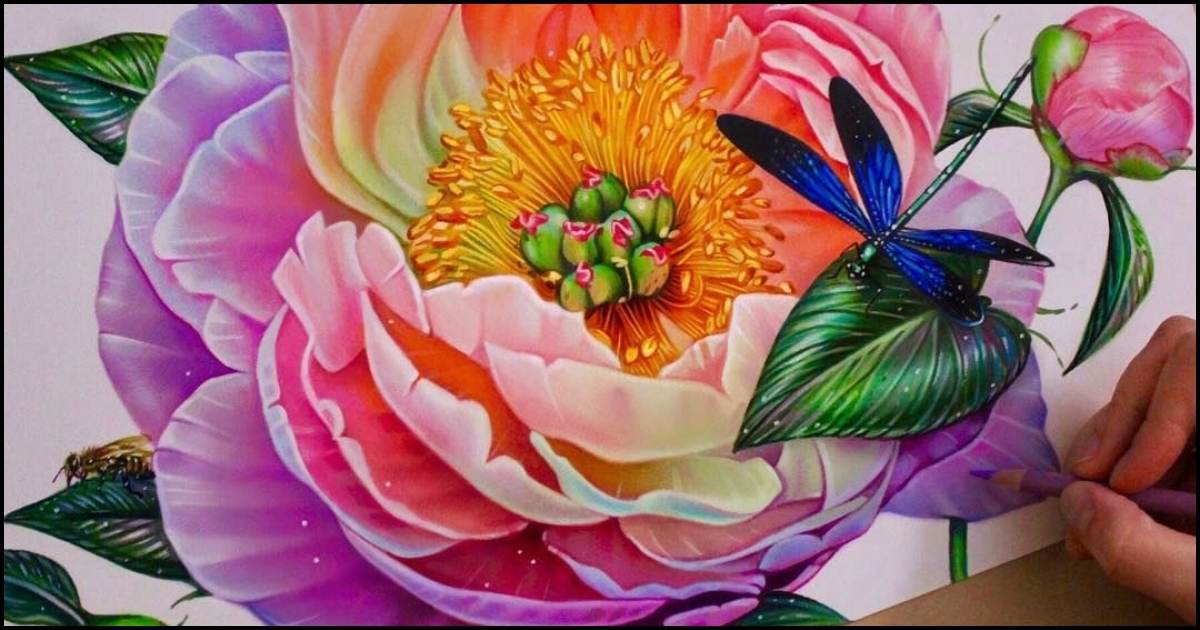
Drawing flowers is really quite a pleasing and rewarding experience, especially if one focuses on mastering a specific type, such as a peony. This step-by-step drawing tutorial will guide you through how to draw a beautiful peony illustration. Peonies are generally characterized by delicate, layered petals, bearing many intricate details that make them one of the favorite subjects for botanical drawing.
Whether you are a novice or an experienced artist, this art tutorial will provide straightforward language instructions and practical drawing tips in easy-to-follow steps. Once you’ve gathered the simple basic art supplies with some Tombow tools at the end, you’ll have a beautiful peony drawing to celebrate.
Basic Supplies for Peony Drawing
Before you start, make sure to have all of your art supplies in front of you. In this case, that’s Tombow pencils, erasers, a ruler, and some good paper. Tombow products will generally make your experience better because these are the best products made with the specific intention of detailed sketching and artistic illustration, so use Tombow techniques to achieve smooth lines and precise shading.
You can also join the Tombow community, where artists share their floral drawings and some hints on how to improve the artistic flower designs. For the botanical art style that the peonies require, you can use the MONO Drawing Pencil by Tombow.
| Essential Supplies | Description |
| Tombow Pencils | For detailed lines and shading |
| Eraser | For correcting mistakes |
| High-Quality Paper | Smooth surface for intricate details |
Read More>> Can Peonies Grow in Pots?
How to Draw a Peony in Simple Steps?
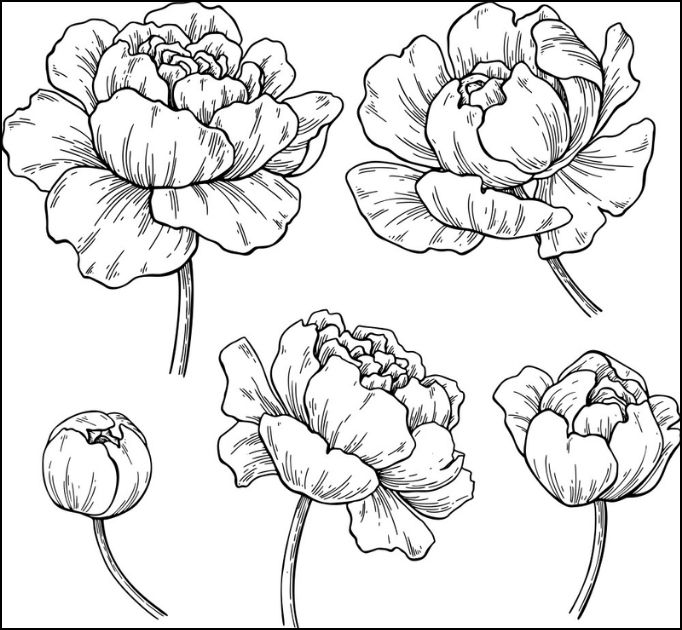
Step 1: Start with Guideline Circle
Begin by lightly sketching a large circle in the middle of your paper. This large circle should be acting as your guideline to create the peony composition. A circle does represent the general outline and size of the flower, where you keep it well-balanced with layers of the petals. You can then refine this using a drawing guide to get a better view.
Step 2: Core Circle
Draw a small circle inside the drawing of the first circle to represent the core of the flower. The composition of this work of art will define in large where the center of the flower is. In a drawing of a peony, it is normally surrounded with tightly packed petals, therefore ensure the inner circle is small enough to provide a space for any detail work that you want to place inside the flower.
Step 3: Add the Bulb Curve
Draw a soft curve from the top of the core down to the side of the guideline circle. This curve will sketch the botanical illustration of the bulb of the flower. A peony flower is round and bulbous so capturing that curve early in the process is crucial to having an accurate flower sketch.
Step 4: Add the Second Curve
Add a second curve, this time a mirror image of the first curve. This curve gives your peony drawing two-dimensional shape. It now starts to resemble the flower and you have the top and side curves.
Step 5: Add the Top Curve
Complete this with a small curve at the top of your flower. This top curve helps in building up a multi-layered effect in a floral drawing.
Modeling and Enhancing the Flower’s Petals
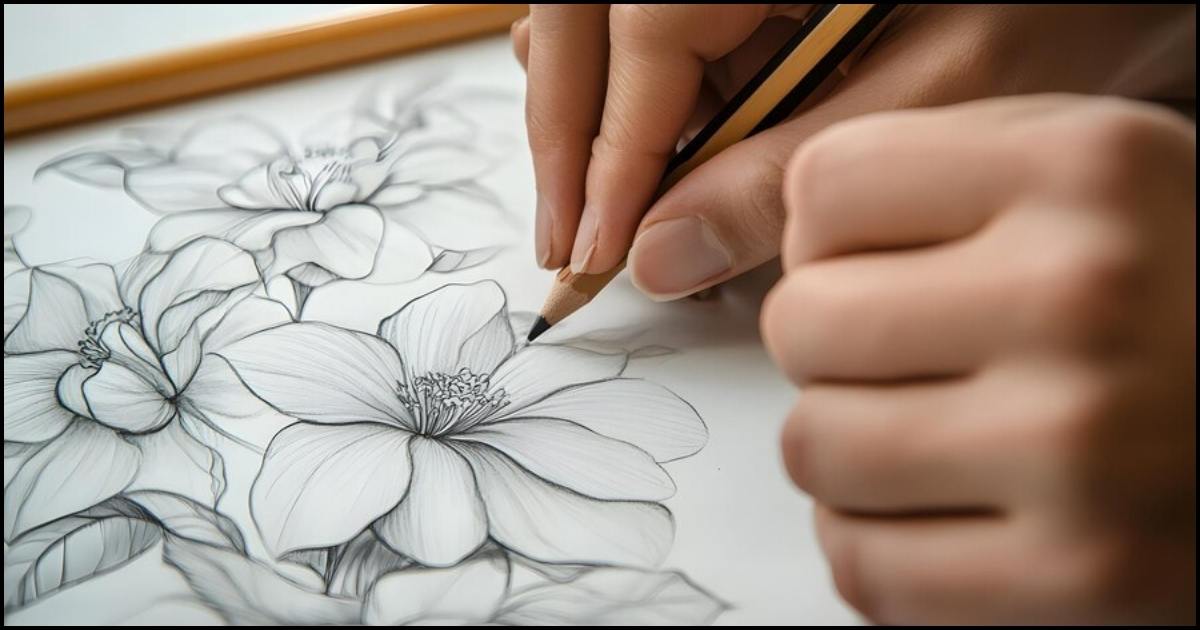
Now that you have the basic structure in place, it’s time to chisel out and add detail to the petals.
Step 6: Section the Center
Section the center into several parts. These divisions will show you where the petals overlap over one another to give your flower drawing depth and realism.
Step 7: First Petal Contour
Draw the outline of the first petal out from the core. Peony petals are curly, rounded, and so your lines ought to be smooth and fluid. Florals call for a balance between precision and fluidity.
Step 8: Curve of the First Petal
Shape the curve on the first petal. The curve should cascade out from the center of the flower to its outer edge. This really will give you that organic flow you’re going for in your peonies.
Step 9: Bottom Edge of the Petal
Define the bottom edge of the first petal. This will overlap on other petals and give you depth in your artistic peony.
Step 10: Second Petal Outline
Start drawing in the second petal next to the first. The petals should curve over one another so that they are layered similarly to the peonies.
Step 11: Outer Edge of Second Petal
Draw in the outer edge of the second petal. Once more, soft, curved lines will create the look of a botanical illustration.
Step 12: Set Edge
Draw the outline of the second petal. This is an essential step to ensure that every petal in your peony drawing is well defined.
Read More>> Are Peonies Deer Resistant?
Final touches for the Peony Petals

With the first two petals established, begin to add more components to the flower.
Step 13: Draw the Third Petal
Draw the third petal. Allow the petal to overlap a bit with the first two and really add dimension to your flowering drawing.
Step 14: Form and Contour of the Petal
Sketch considering the form and contour of each petal. The greater the difference in size and placement the more realistic your botanical drawing will appear.
Step 15: Third Petal Profile
Define the profile of the third petal so it stands out in your composition.
Step 16: Fourth Petal Location
Place the fourth petal so that the total appearance of the flower will be in good balance. This is a very creative step, and you are likely to shift a little at some time or the other to maintain the symmetry of your flower.
Step 17: Finishing the Petal Set
After placing the fourth petal, finish the set with the outline of all the petals in the same way. Observe how the composition of the flower looks as a whole.
Adding the Stem and Leaves
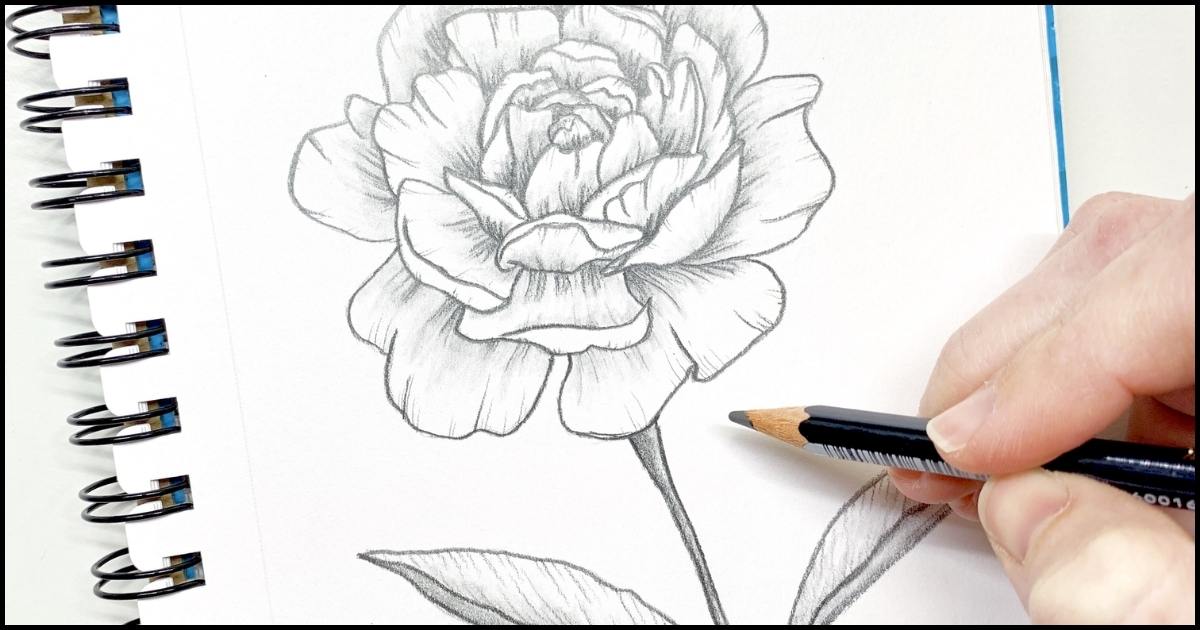
This is where you add your stem and your leaves to your peony drawing.
Step 22: Final Touch on Bottom Petal
Before getting to the stem, add as many details on the bottom petal so that the transition feels natural into the stem
Step 23: Adjusting the Right Petal
Ever so slightly, adjust the right petal to make a smooth flow out of the petals to the stem
Step 24: Erase the Guidelines
At this stage, erase away all your extra guideline marks to neaten up your drawing and prepare for the final steps of your artistic drawing.
Step 25: Darken the Lines
Draw over your main lines in your drawing to darken and strengthen them. In doing so, your work will bring out and make your flower a work of art.
Read More>> Tribute Printed Pics Preserving Memories
Final Step: You did it!
Congratulations on completing a realistic beautiful peony drawing! Now that you have done all of these steps to draw, take a little time admiring your handiwork. Your peony drawing is done! You can color it or leave it as a pencil drawing.
FAQ’s
What do peonies symbolize?
In many ways, peonies are symbols of wealth, romance, honor and beauty, and therefore of a good marriage.
Which is the easiest flower to draw?
Daisies- These are one of the easiest flowers to draw; this is because their flower structure is simple with all the petals in a circle for the center.
How to draw a flower easily step by step?
Draw a small circle in the middle and a series of simple petals that should be evenly spread out. Add more details when necessary.

